

Gradually add the dry ingredients to the bowl containing the yogurt mixture.
Use a spatula or wooden spoon to fold everything together gently.
Do not aggressively beat the batter. Mix only until the flour has disappeared and the ingredients are combined.
A few tiny lumps are acceptable. The most important thing is to avoid prolonged mixing because excessive gluten development can make the finished cake tougher and denser.
The completed batter should be thick but easy to spread.
7. Add Your Favorite Variation
This recipe is deliberately simple, so you can change its character without completely changing the basic formula.
For a lemon yogurt cake, add lemon zest and, if desired, a small amount of fresh lemon juice.
For a cinnamon cake, add approximately 1/2 teaspoon cinnamon.
For a berry cake, gently fold in up to 1/2 cup of berries. If using frozen berries, add them directly from the freezer rather than allowing them to become excessively wet.
For a chocolate yogurt cake, use unsweetened cocoa powder as described above.
8. Fill the Pan
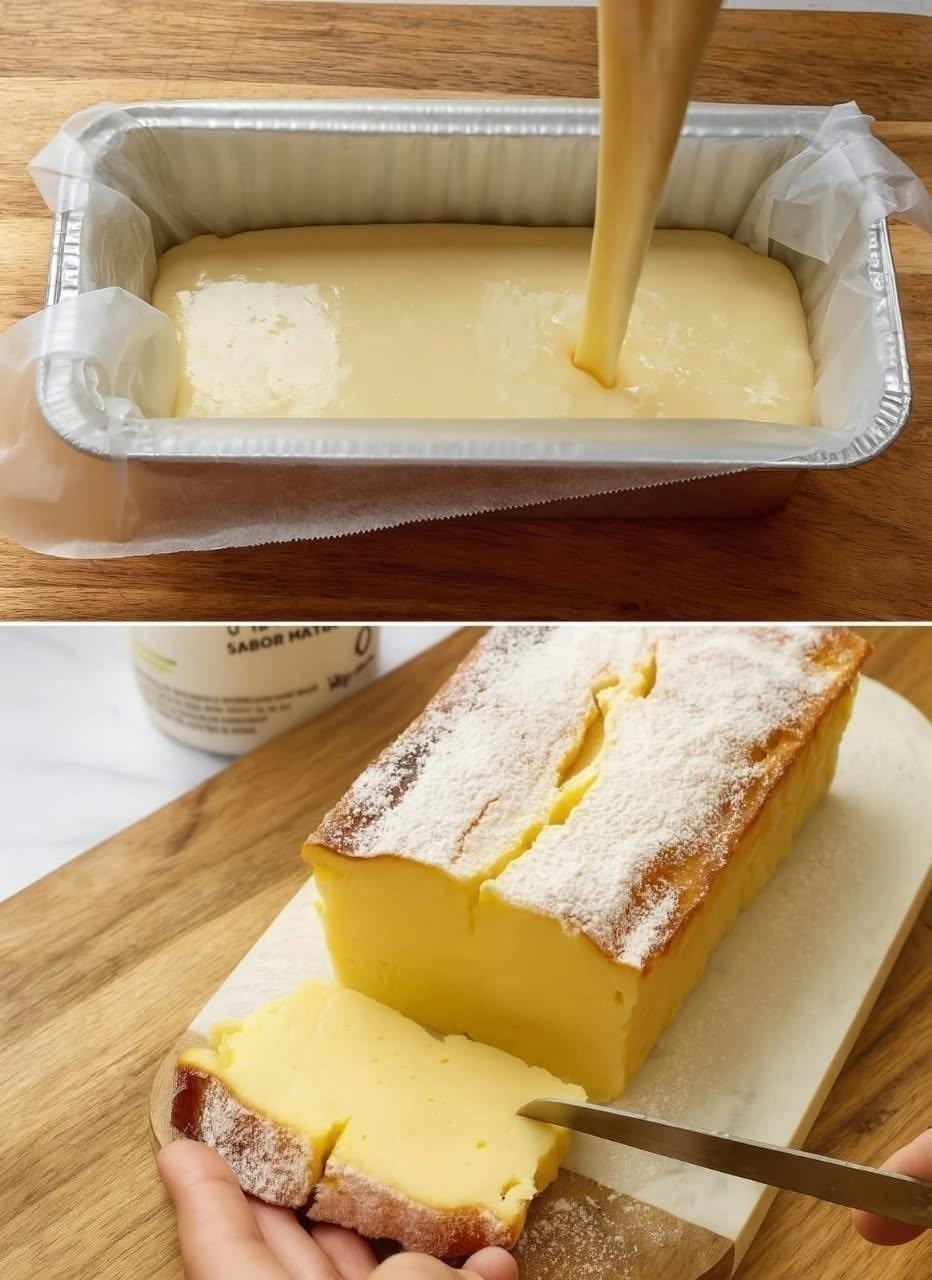
Pour the batter into the prepared cake pan.
Use a spatula to spread it toward the edges and smooth the surface.
Gently tap the pan once or twice against the countertop to release any unusually large air bubbles. Avoid repeatedly banging the pan because this can disturb the batter.
Place the pan on the center rack of the preheated oven.
9. Bake the Cake
Bake for approximately 35–45 minutes.
The exact baking time can vary depending on your oven, the pan you use, and the moisture content of your yogurt.
Begin checking around the 35-minute mark.
Insert a toothpick into the center of the cake. If it comes out clean or with a few moist crumbs attached, the cake is ready.
If the toothpick has wet batter on it, continue baking for another 5 minutes and check again.
Avoid baking the cake longer than necessary. Since this is a relatively low-fat cake, overbaking can cause it to lose some of its moisture.
10. Cool Before Slicing
Remove the cake from the oven and let it rest in the pan for approximately 10–15 minutes.
Carefully loosen the edges with a thin knife or spatula, then transfer the cake to a cooling rack.
Allow it to cool completely before slicing.
This step is more important than it may seem. The interior continues to set while the cake cools. Cutting it immediately can make the crumb appear softer or more fragile than it actually is.
11. Simple Serving Ideas
Once completely cool, you can serve the cake as it is or add a light topping.
For a simple presentation, dust the surface with a small amount of powdered sugar.
For a fruit-based dessert, serve individual slices with fresh berries.
You can also add a spoonful of plain Greek yogurt and a little lemon zest. This creates a creamy contrast without requiring a heavy frosting.
For breakfast or an afternoon snack, the cake is delicious alongside tea or coffee.
12. Tips for the Best Results
Use thick yogurt: Thin yogurt can make the batter too wet. If your Greek yogurt is unusually runny, strain it briefly before measuring.
Measure flour carefully: Too much flour can make the cake dry. For the most accurate result, weigh the flour if you have a kitchen scale.
Do not overmix: Once the flour disappears, stop mixing.
Watch the oven: Every oven behaves differently. Start checking the cake before the maximum baking time.
Cool completely: Cooling allows the crumb to become more stable and makes slicing cleaner.
13. Storage
Keep the cooled cake in an airtight container.
At room temperature, it is best enjoyed within approximately 2 days. For longer storage, refrigerate it for up to 5 days.
If refrigerated, allow individual slices to sit at room temperature for several minutes before serving. This helps restore some of the cake’s soft texture.
Post Navigation