
When used for cleaning, it can provide several useful properties:
Gentle abrasive action
Odor-neutralizing properties
Ability to help lift certain types of dirt
Easy availability
Low cost
Simple use in homemade cleaning mixtures
Unlike harsh abrasive powders, baking soda is relatively mild. Nevertheless, “mild” does not mean suitable for every material. Frequent or aggressive scrubbing can still damage delicate surfaces.
The best results come from using a small amount, the right amount of water, and gentle cleaning techniques.
A Simple Baking Soda Tile-Floor Cleaning Method
The basic method is easy to prepare.
Ingredients and Supplies
You will need:
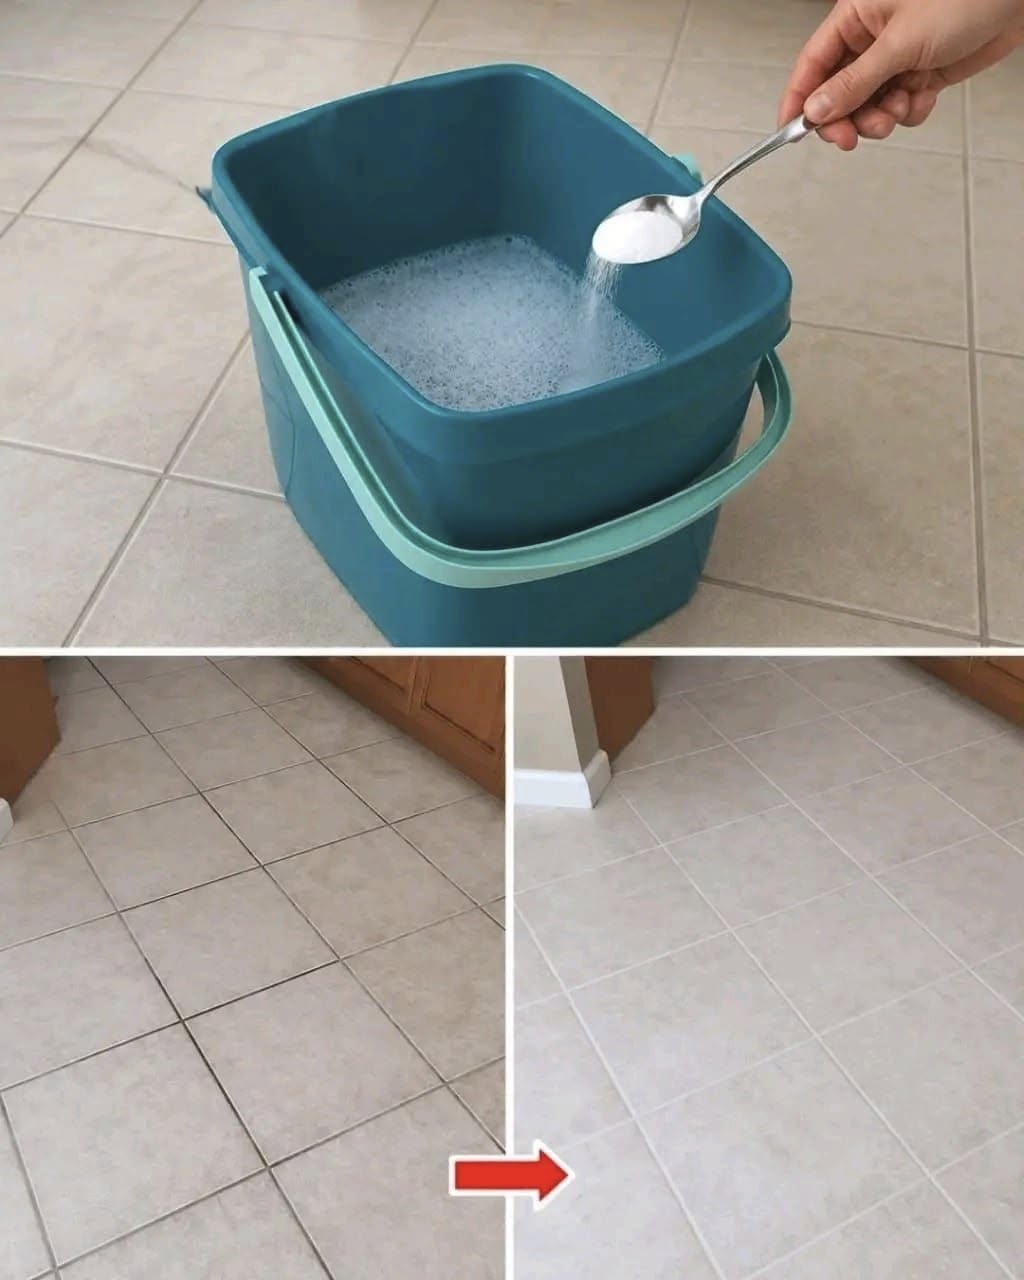
1 bucket of warm water
2 to 4 tablespoons of baking soda
A mop or microfiber mop
A broom or vacuum suitable for hard floors
A clean cloth
A soft-bristled brush for grout, if necessary
A second bucket or container of clean water for rinsing
For ordinary tile cleaning, more product is not necessarily better. Using excessive amounts of baking soda can leave powdery residue if the floor is not thoroughly rinsed.
Step 1: Remove Loose Dirt First
Before adding water, sweep or vacuum the floor.
This step is essential.
Many people make the mistake of immediately applying a cleaning solution to a dusty floor. Once water is added, loose dirt can turn into muddy streaks.
Use a broom, dry microfiber mop, or vacuum designed for hard surfaces.
Pay attention to:
Corners
Edges of cabinets
Under furniture
Behind doors
Entryways
Areas near kitchen appliances
Removing loose dirt first makes the wet-cleaning stage easier.
Step 2: Prepare the Cleaning Water
Fill a bucket with warm—not extremely hot—water.
Add approximately 2 to 4 tablespoons of baking soda and stir well.
The amount can be adjusted according to the size of the bucket and the condition of the floor. The goal is to create a gentle cleaning solution rather than a thick paste.
Warm water can help loosen everyday dirt. Baking soda may provide additional cleaning and deodorizing benefits.
Do not assume that adding half a box of baking soda will produce better results. Excessive powder may remain behind and create a cloudy appearance.
Step 3: Mop the Floor Gently
Dip your mop into the solution and wring it out well.
A soaking-wet mop is not always the best choice. Excess water can collect in grout lines and may create problems around baseboards, cabinets, and certain types of flooring.
Mop in small sections.
A good technique is to:
Start at the farthest corner of the room.
Work toward the exit.
Use smooth, overlapping strokes.
Rinse the mop regularly.
Change the cleaning water if it becomes visibly dirty.
A microfiber mop can be particularly helpful because it can collect fine particles without requiring excessive water.
Step 4: Pay Attention to Problem Areas
Some parts of the floor may need more attention.
These include:
The space in front of the stove
Areas around garbage bins
Entryways
Bathroom floors
Corners
Areas beneath tables
Places where pets eat
Instead of scrubbing the entire floor aggressively, focus additional effort on visibly dirty areas.
For small marks, make a paste using baking soda and a small amount of water. Apply the paste to the spot and gently rub it with a soft cloth or soft brush.
Avoid aggressive scouring pads unless you are certain the tile can tolerate them.
For Complete Cooking STEPS Please Head On Over To Next Page Or Open button (>) and don’t forget to SHARE with your Facebook friends