Step 4: Bake the Base
Bake the pressed oat base in the preheated oven for 10 minutes — just long enough to set it slightly and give it some structure to support the toppings. It will look pale and barely set at this point, which is correct. Remove from the oven and proceed immediately to the next step while the base is still hot.
Step 5: Add the Fillings
Scatter the chocolate chips evenly over the hot oat base. Pour the melted caramel slowly and evenly over the chocolate chips and base — pour in a thin, sweeping stream to distribute it as evenly as possible, then use the back of a spoon to nudge it into uncovered areas. Work quickly, as the caramel will begin to firm as it cools. Sprinkle the reserved cup of oat crumble mixture evenly over the top of the caramel and chocolate layer.
Step 6: Bake and Cool
Return the pan to the oven and bake for an additional 15 to 20 minutes, until the crumble topping is lightly golden and the caramel is visibly bubbling around the edges. Do not overbake — the caramel should be bubbling but not darkening, and the topping should be golden rather than deeply browned. Remove from the oven and allow the bars to cool completely in the pan before cutting — at least 1 to 2 hours at room temperature, or 30 to 40 minutes in the refrigerator. The caramel needs this time to firm back up; bars cut while still warm will have a lava-like caramel center that, while delicious, makes clean slicing impossible. Use a sharp knife to cut into 2-by-1-inch bars.
Tips for the Best Result
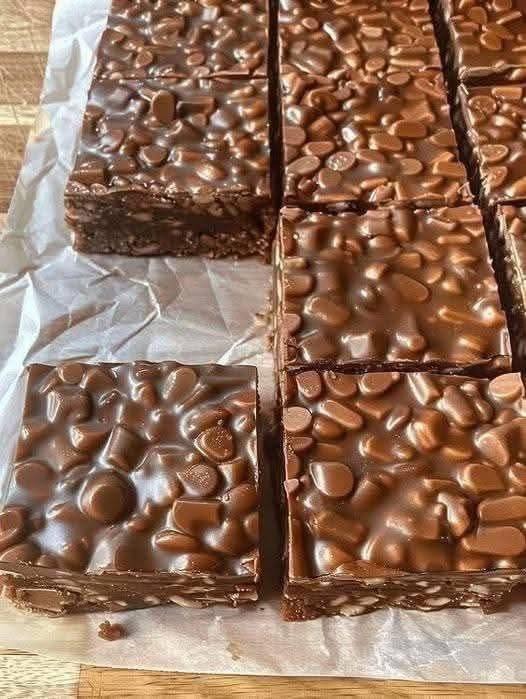
The caramel layer is the most variable element in this recipe. If the melted caramel seems very thick and difficult to pour, add another tablespoon of water or cream and stir over low heat until it loosens. If it seems very thin, it will spread during baking and may pool at the edges — this is fine and does not affect the flavor, only the visual distribution. The chocolate chips go in before the caramel rather than on top of it, which allows them to partially melt against the hot base and partially hold their shape under the caramel — this creates chocolate veins running through the caramel layer rather than a flat chocolate surface, which is better in every possible way.
Swapping margarine for butter produces a noticeably richer flavor and a slightly firmer crumble that holds its shape better when sliced. Using dark chocolate chips rather than semi-sweet creates a more sophisticated, less sweet bar. Adding half a cup of chopped pecans or walnuts to the topping crumble adds texture and a nutty flavor that works extremely well with the caramel. A pinch of flaky sea salt sprinkled over the top immediately after the bars come out of the oven is the most effective single upgrade possible — it cuts through the richness and makes the caramel flavor bloom.
Storage
Store in an airtight container at room temperature, with layers separated by wax paper, for up to 5 days — though they rarely last anywhere near that long. Refrigerate for up to one week. Freeze individually wrapped bars for up to 2 months; thaw at room temperature for 20 to 30 minutes before serving. These bars are excellent holiday gifts, potluck contributions, and bake sale items — they travel well, hold their shape, and generate an outsized reaction relative to the effort involved.
