What if the secret to genuinely clear, bright, and youthful-looking skin was already sitting right in your kitchen — not in an expensive bottle, not behind a pharmacy counter, but in the humble potato on your counter and the banana peel you were about to throw in the bin? This homemade brightening cream combines the natural power of fresh potato juice and banana peel into a simple, budget-friendly skincare treatment that you can prepare in minutes, use at home, and apply whenever your skin needs a boost. No synthetic chemicals, no unfamiliar preservatives, no expensive trips to the beauty counter — just honest, natural ingredients working together to give your skin a genuinely refreshed, more luminous appearance.
Why These Two Ingredients Work So Well Together
Before diving into the recipe, it is worth understanding why potato and banana peel are such a powerful combination for skin brightening — because the science behind them is genuinely impressive.
The Power of Potato Juice
Raw potato juice has been used in traditional home skincare remedies for generations, and for good reason. Potatoes contain natural enzymes — particularly catecholase — that are believed to lighten hyperpigmentation, even out skin tone, and reduce the appearance of dark spots over time. They are also exceptionally high in water content, which gives them an immediate cooling and soothing effect on the skin. Potato juice is rich in vitamin C, which plays a foundational role in collagen production and skin brightening, and in B vitamins, which support healthy skin cell renewal. It is genuinely gentle and well-tolerated by most skin types, including sensitive skin.
The Surprising Benefits of Banana Peel
The banana peel is one of the most commonly discarded kitchen scraps — and also one of the most underappreciated natural skincare ingredients available. The inner white surface of a ripe banana peel is packed with nutrients that are extraordinarily beneficial for the skin. Banana peels are rich in vitamin C, which promotes collagen production and helps fade dark spots and uneven pigmentation. They contain potassium, which deeply hydrates the skin and helps plump fine lines by retaining moisture. They are loaded with antioxidants that protect skin cells from environmental damage and slow visible signs of aging. And they have natural anti-inflammatory compounds that soothe irritation, redness, and sensitivity. When the inner part of a banana peel is scraped and blended into a cream, these nutrients become directly bioavailable to the skin in a way that feels genuinely nourishing and soothing.
Additional Ingredients That Complete the Cream
The complete brightening cream recipe adds a few more kitchen staples that each contribute specific benefits to the finished product:
- Cornstarch: Acts as a natural skin tightener and helps give the cream a smooth, spreadable texture. It also helps lighten dark areas and contributes to a firmer, more toned appearance when used regularly
- Lemon juice: A powerful natural brightening agent rich in vitamin C and citric acid. It helps remove tan lines, fade age spots, and even out skin tone. Orange juice can be used as a gentler substitute for those with sensitive skin, as lemon can be quite acidic
- Powdered milk: Contains lactic acid, a gentle alpha hydroxy acid that naturally exfoliates dead skin cells, smooths texture, and improves the appearance of hyperpigmentation, dark spots, and melasma. It is one of the most effective natural skin brighteners available
- Rice or rice water: A staple of Japanese skincare traditions, rice has been used for centuries to brighten, smooth, and purify the skin. It contains inositol, a carbohydrate that promotes cell growth and boosts blood flow to keep skin looking radiant and youthful
What You Will Need
- 1 small potato
- 1 ripe banana peel (use the peel from a yellow banana with minimal brown spots — this is when nutrient content is at its highest)
- 1 tablespoon rice
- 1 cup water
- 1 tablespoon cornstarch
- 1 tablespoon lemon juice (or orange juice as a gentler alternative)
- 1 teaspoon powdered milk
Step-by-Step Instructions
Step 1: Extract the Potato Juice
Begin with the potato. Take a small, fresh potato and peel it completely. Using a fine grater, grate the entire potato into a clean bowl. Once grated, transfer the potato pulp to a clean strainer placed over a bowl and press it firmly with the back of a spoon — or squeeze it with clean hands — to extract as much juice as possible. You want to collect approximately 4 teaspoons of fresh potato juice. Set this aside in a small bowl. The potato pulp can be discarded or composted.
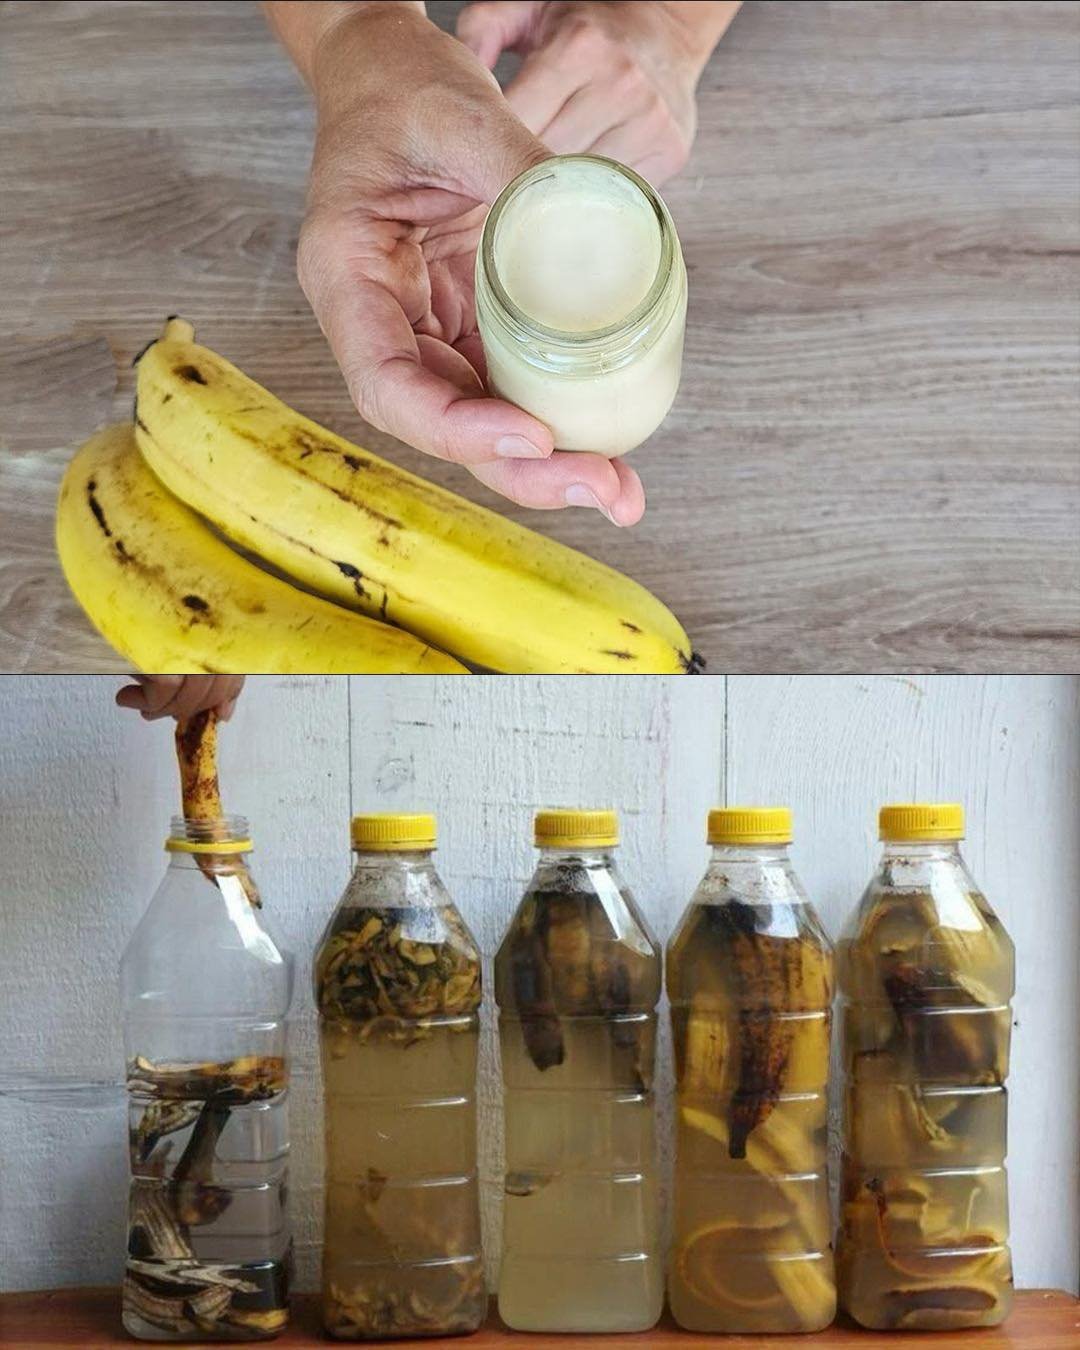
Step 2: Prepare the Banana Peel
Take your ripe banana peel and cut it into small pieces. Using a spoon, scrape the white inner surface of the peel — this is where the most concentrated nutrients, enzymes, and beneficial compounds are found. Place the scraped banana peel pieces into a small saucepan.
Step 3: Boil the Banana Peel and Rice Together
Add 1 tablespoon of rice to the saucepan with the banana peel pieces. Pour in 1 cup of water. Bring the mixture to a gentle boil over medium heat and allow it to cook for approximately 10 minutes. During this time, the water extracts the nutrients from both the banana peel and the rice, creating a nutrient-rich liquid base. The rice and banana peel also soften, making them much easier to blend smoothly in the next step.
Step 4: Blend Until Completely Smooth
Remove the saucepan from the heat and allow the mixture to cool to a comfortable temperature. Once cooled, transfer the contents — including all the liquid — into a blender or food processor. Blend thoroughly until the mixture is completely smooth and lump-free. If you notice any remaining fibers or chunks after blending, strain the mixture through a fine mesh strainer to achieve a smooth, creamy consistency. A smooth texture is important for easy, even application across the face.
Step 5: Add the Brightening Ingredients
see you next post
